Chocolate chip cookies fail or succeed on a handful of decisions you make before the oven ever turns on, and almost every recipe online hands you one fixed result without telling you how to change it. That is the gap I want to close. Whether you like cookies thin and crisp at the edges, thick and chewy in the middle, or soft and cakey all the way through is a matter of a few specific levers: the state of your butter, the ratio of brown to white sugar, how much flour you use, whether you chill the dough, and your oven temperature. Learn what each lever does and you stop chasing recipes and start baking the cookie you actually want. I have burned, flattened, and over-puffed enough batches in my own kitchen to know exactly which knob to turn, and that is what this guide is built around.
I will give you a reliable base recipe, then a texture-control table so you can steer it, the real chemistry behind each choice, and a troubleshooting section for the batches that go wrong anyway. No fluff, just the parts that change the cookie in your hand.
A Reliable Base Recipe to Steer From
Start here, then adjust using the table further down. This makes about two dozen cookies.
| Ingredient | Amount |
|---|---|
| All-purpose flour | 2 1/4 cups |
| Baking soda | 1 tsp |
| Salt | 3/4 tsp |
| Unsalted butter | 1 cup (2 sticks) |
| Brown sugar, packed | 1 cup |
| Granulated sugar | 1/2 cup |
| Large eggs | 1 whole + 1 yolk |
| Vanilla extract | 2 tsp |
| Chocolate chips or chunks | 2 cups |
Cream the softened butter with both sugars until light, about three minutes. Beat in the egg, the extra yolk, and vanilla. Whisk the flour, baking soda, and salt separately, then mix into the wet just until no dry streaks remain. Fold in the chocolate. Chill the dough at least an hour. Scoop into balls, taller than wide, and bake at 375 F for 9 to 11 minutes until the edges are set and the centers still look slightly underdone. Cool on the sheet five minutes before moving them. That underdone-looking center is correct, and I will explain why below.
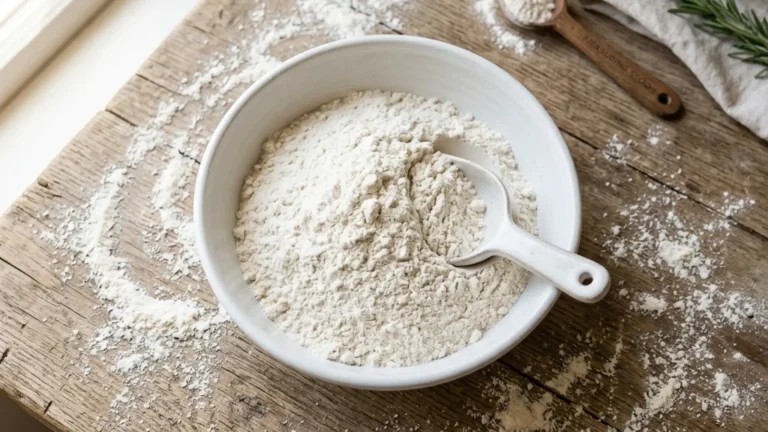
Measure Your Flour the Right Way

Before anything else, fix how you measure flour, because it is the most common reason a trusted recipe suddenly turns out wrong. If you scoop a measuring cup straight into the bag, you pack the flour down and can end up with 20 to 30 percent more than the recipe intends. That extra flour is exactly what gives you dry, cakey, puck-shaped cookies that refuse to spread. The fix is simple. Stir the flour in the bag to loosen it, spoon it lightly into the cup, and level the top with a straight edge. Better still, weigh it: 2 1/4 cups of all-purpose flour is about 270 grams. A cheap kitchen scale removes this variable entirely, and once you bake by weight you will never go back. Half the troubleshooting emails I have ever answered came down to a heavy hand with the flour scoop.
The same care applies to brown sugar, which you do pack, firmly, into the cup. Brown sugar measured loose gives you noticeably less, which shifts your whole brown-to-white ratio and the chew that comes with it. Be consistent and your cookies will be consistent.
The Texture-Control Table: Dial In Your Cookie
This is the part the big recipe sites leave out. Each row is one lever. Move it in the direction shown to push your cookie toward that texture.
| Lever | For chewy | For crisp | For cakey |
|---|---|---|---|
| Butter | Melted, cooled | Melted, more white sugar | Creamed cold-ish, aerated |
| Sugar ratio | More brown | More white | Balanced, less total |
| Eggs | Extra yolk | Fewer yolks | Extra whole egg |
| Flour | Standard | Slightly less | Slightly more |
| Chill | 1 to 24 hr | Optional | Optional |
| Oven temp | 375 F, pull early | 325 F, bake longer | 375 F, full bake |
The single biggest surprise for most people is that a lower oven temperature makes crispier cookies, not softer ones. Lower heat gives the dough more time to spread thin and dry out before it sets. Higher heat sets the structure faster, trapping a softer center. Keep that one in your back pocket.
Why Butter State Changes Everything
Butter is the lever with the most leverage. When you cream softened butter with sugar, you whip air into it, and that air gives the cookie lift and a more cake-like, tender crumb. The fat stays in tiny suspended pockets that hold their shape longer in the oven, so the cookie spreads less. When you melt the butter instead, there is no trapped air. The dough is denser, it spreads more, and the result is flatter and chewier. Neither is wrong. They are two different cookies.
There is a second reason melted butter chews more. Melting frees the water in butter to bond with the flour proteins and form more gluten, and a bit more gluten reads as chew. This is also why you should never overmix a creamed dough: you will develop gluten you did not want and end up tough instead of tender.
One detail the popular recipes mention but rarely explain is room-temperature eggs. Cold eggs straight from the fridge do not emulsify smoothly into creamed butter; they can seize the fat into little clumps and leave you with a broken, grainy dough that bakes unevenly. Eggs at room temperature blend in cleanly and hold the batter together as a stable emulsion, which means even spread and a consistent crumb. If you forgot to set them out, drop the eggs in a bowl of warm tap water for five minutes before you crack them. It is a small step that quietly prevents a whole category of texture problems, and it matters most in the creaming method where the emulsion is doing real structural work.
Sugar Is Not Just Sweetness
Brown sugar and white sugar behave differently in the oven, and the ratio between them is a real lever. Brown sugar contains molasses, which is acidic and holds moisture (it is hygroscopic, meaning it pulls water from the air). Acidity reacts with baking soda for lift, and the retained moisture keeps the cookie soft and chewy for days. White sugar has no molasses. It melts and caramelizes cleanly, promoting spread and crisp edges. A cookie that is mostly brown sugar stays chewy and tastes faintly of toffee. A cookie that leans white spreads thin and snaps. My base recipe runs two parts brown to one part white because chewy-with-crisp-edges is what most people mean when they say they want a good cookie.
The Case for Chilling the Dough
Chilling does two things, and both matter. First, it solidifies the butter so the cookie holds its shape longer in the oven and spreads less, giving you a thicker cookie. Second, and this is the part people miss, resting the dough lets the flour fully hydrate and lets enzymes break down some starches into sugars, which deepens the flavor and improves browning. A dough chilled overnight bakes up with a richer, more toffee-like taste than the same dough baked right away. An hour helps. Twenty-four to thirty-six hours is the sweet spot if you can plan that far ahead. Beyond about three days, refrigerated raw dough starts to dry and the eggs are past their best, so freeze it instead at that point.
How to Freeze Cookie Dough
Scoop the dough into balls, freeze them on a tray until solid, then bag them. Bake straight from frozen, adding one to two minutes to the time. This is the single best habit a cookie baker can build. Fresh cookies on demand, no full batch staring you down on the counter.
Choosing Your Chocolate and Mix-Ins
The chocolate is half the cookie, so it is worth a thought beyond grabbing the nearest bag. Standard semisweet chips hold their shape because they contain stabilizers that resist melting, which is why they stay as distinct little teardrops. That is fine, and it is what most people picture. But if you want pools and streaks of melted chocolate, chop a bar of good baking chocolate into rough chunks instead. The irregular pieces melt into puddles, and the dust from chopping disperses through the dough, giving you chocolate in every bite rather than only where a chip landed. I keep both on hand and often use a mix: chips for structure, chopped chunks for the molten pockets.
A pinch of flaky salt pressed onto the tops just before baking is the easiest upgrade there is. The salt cuts the sweetness and makes the chocolate taste more like chocolate. Beyond that, a half cup of toasted chopped pecans or walnuts adds crunch and a buttery note, and they are worth toasting first in a dry pan for a few minutes to wake up their oils. If you go the nut route, fold them in at the very end with the chocolate so you do not overwork the dough. Whatever you add, keep the total volume of mix-ins around two to two and a half cups so the dough still has enough body to hold together.
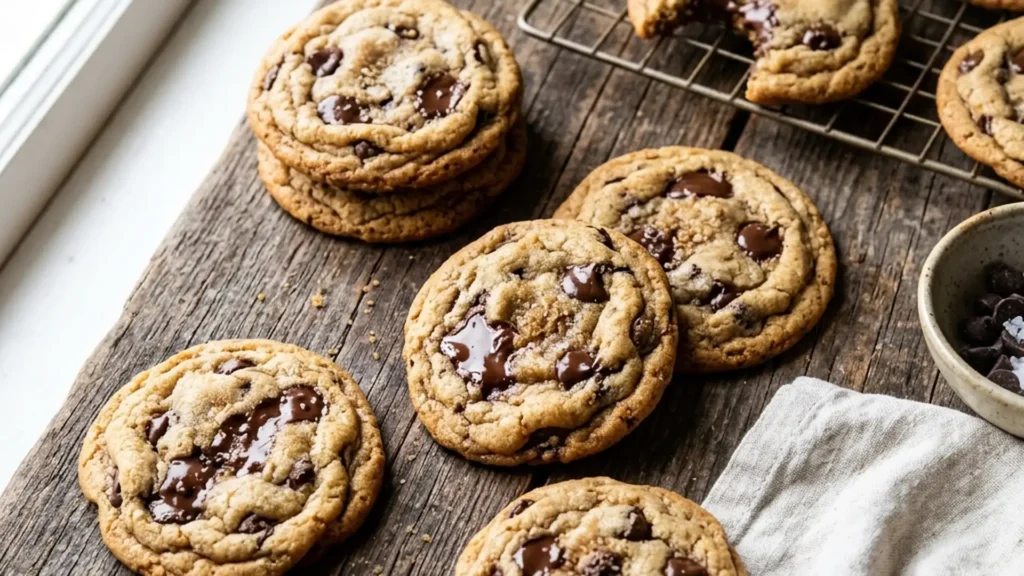
Doneness, Carryover, and the Cooling Sheet

Pull the cookies when the edges are set and golden but the centers still look soft, puffy, and slightly raw. They are not raw. The cookies keep cooking on the hot sheet for several minutes after they leave the oven, and that carryover finishes the centers into soft, chewy perfection. If you wait until the center looks done in the oven, it will be overdone by the time it cools. This is why every honest recipe shouts do not overbake, but few explain that carryover is the reason. Let them rest on the sheet for five minutes, then move them to a rack so the bottoms do not steam and turn soft.
Altitude and Humidity: The Adjustments Recipes Skip
If you bake above about 3,000 feet, cookies spread more and dry out faster because lower air pressure changes how leavening and moisture behave. Cut the sugar slightly, add a tablespoon or two of flour, and raise the oven by 15 to 25 degrees so the structure sets before the cookie pancakes. On very humid days, flour absorbs moisture from the air and your dough turns wetter and stickier than usual, which means more spread. Hold back a couple of tablespoons of flour on dry days and add them back when the kitchen is damp. These are small moves, but they explain why your reliable recipe sometimes betrays you for no obvious reason.
Troubleshooting: Fix the Batch That Went Wrong
| Problem | Cause | Fix |
|---|---|---|
| Cookies spread flat | Butter too warm or no chill, hot pan | Chill dough, use a cool sheet each batch |
| Too cakey and dry | Too much flour or overmixed | Spoon and level flour; mix to just combined |
| Raw, gummy center | Pulled far too early or dough balls huge | Bake 1 to 2 min more; standardize scoop size |
| Greasy puddles | Butter melted and not cooled before mixing | Cool melted butter 5 min; chill dough |
| No spread at all | Too much flour or over-chilled too cold | Let dough sit 10 min; ease back on flour |
| Burnt bottoms | Dark pan or rack too low | Use light pan, middle rack, parchment |
The flat-cookie problem is the most common, and the most common cause is a warm sheet. If you reuse the same pan batch after batch without cooling it, the butter starts melting before the cookie sets and you get thin, lacy spread. Keep two pans rotating, or run the hot one under cold water and dry it between batches.
Treat Them as a Treat, and Read the Rest of the Label
Cookies are a treat, and there is nothing wrong with that. Where it pays to pay attention is in the everyday foods you eat around them. If cookies are your splurge, it helps to know what the rest of your snacking adds up to, which is why I am a fan of actually reading nutrition labels on the things you grab without thinking, from a sleeve of saltine crackers to a tub of Greek yogurt. Knowing the numbers on the background foods is what lets you enjoy the cookie without guilt. Balance is just arithmetic you do once and then stop worrying about.
For two more tested approaches worth comparing against your own, the King Arthur Baking recipe is a dependable benchmark, and the browned-butter version from a serious test kitchen shows how toasting the butter adds a nutty depth once you have the fundamentals down.
Frequently Asked Questions
Why are my chocolate chip cookies flat?
Usually warm dough or a warm baking sheet. When the butter is too soft going in or the pan is still hot from the last batch, the cookie spreads before it can set. Chill the dough, bake on a cool sheet, and the spread will pull right back.
Should I use baking soda or baking powder?
Baking soda is standard for chocolate chip cookies. It reacts with the acidic brown sugar to give lift and encourages browning and spread. Baking powder makes a more cake-like, taller cookie. The base recipe here uses soda for that classic chewy result.
Do I have to chill the dough?
You do not have to, but it helps a lot. Chilling firms the butter for less spread and a thicker cookie, and resting the dough deepens the flavor and browning. An hour makes a difference; overnight is better if you can wait.
Why does my recipe say to underbake?
Because the cookies keep cooking on the hot sheet after they come out. That carryover heat finishes the centers. If you bake until the middle looks fully done, it will be dry once cooled. Pull them when the edges are set and the centers still look soft.
Can I freeze chocolate chip cookie dough?
Yes, and it is the best make-ahead trick there is. Scoop the dough into balls, freeze them solid on a tray, then bag them. Bake from frozen, adding one to two minutes. You get a couple of fresh cookies whenever you want without committing to a whole batch.
What is the difference between using brown and white sugar?
Brown sugar holds moisture and adds a toffee note, keeping cookies soft and chewy. White sugar promotes spread and crisp edges. The ratio between them is one of your main texture levers, so adjust it toward brown for chew and white for crunch.
Bottom Line
There is no single best chocolate chip cookie, only the one you want today. Once you understand that butter state, sugar ratio, flour, chilling, and oven temperature each pull the texture in a known direction, you can build a chewy cookie one afternoon and a crisp one the next from nearly the same bowl of ingredients. Start with the base recipe, pull them from the oven looking slightly underdone, and trust the carryover heat to do the rest. The reliable batch you have been chasing is just a few deliberate choices away.