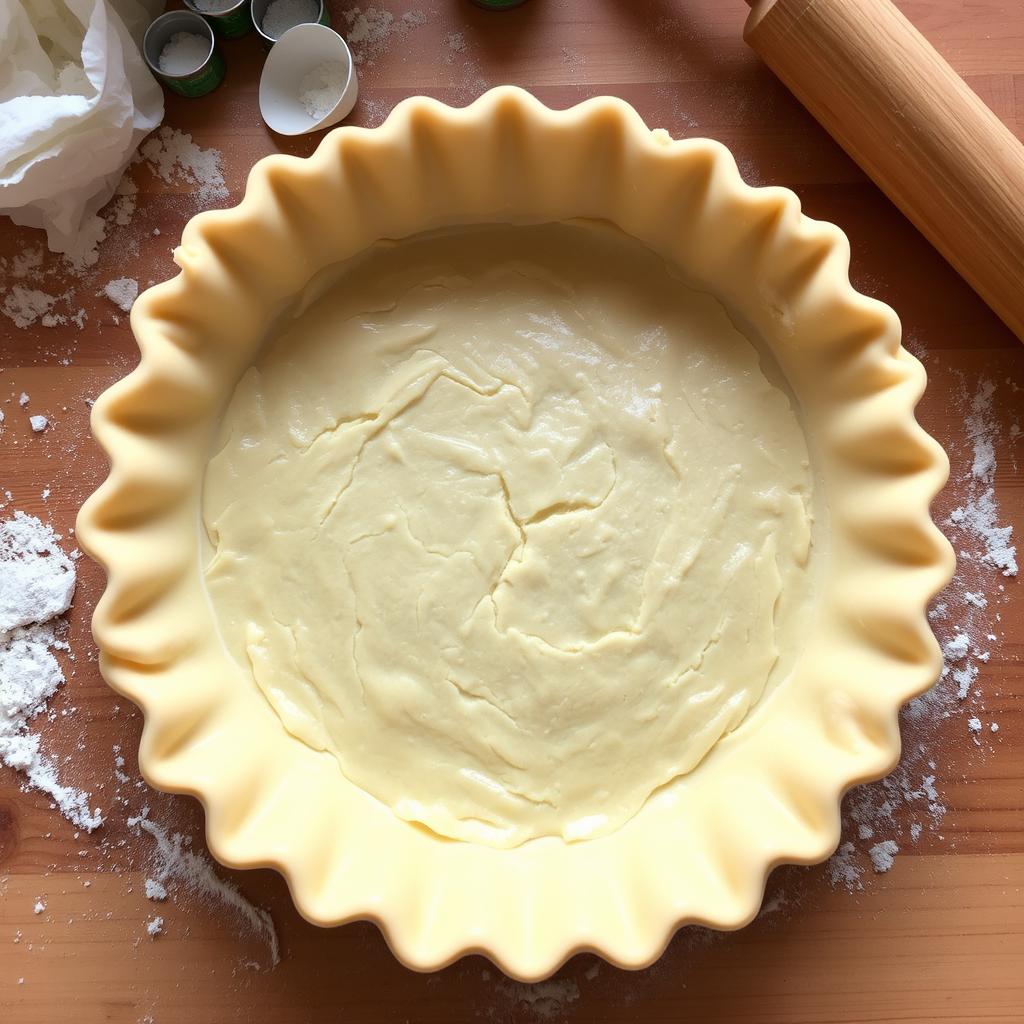
Making a pie from scratch can be a rewarding experience, especially when you get to enjoy the fruits of your labor on special occasions. While it may seem intimidating, creating a homemade pie crust is a skill worth mastering.
With a simple pie crust recipe, you can elevate your baked goods from good to exceptional. The key lies in achieving the perfect balance between flakiness and tenderness in your pie dough. By understanding the basics of making pie crust, you’ll be able to create a variety of delicious pies using a single, versatile dough.
Don’t let the thought of making homemade pie crust from scratch scare you. With the right guidance, you’ll be making pies like a pro in no time. This introduction will walk you through the process, addressing common fears and misconceptions, and provide you with the confidence to get started.
Key Takeaways
- Discover the benefits of making homemade pie crust from scratch.
- Learn the basic concept of pie crust making and its importance.
- Understand the balance between flakiness and tenderness in a perfect pie crust.
- Address common fears and misconceptions about making pie crust.
- Get a brief overview of what makes this pie crust recipe special.
- Explore the versatility of the basic dough for sweet and savory applications.
The Secret to Perfect Homemade Pie Crust
The foundation of a great pie lies in its crust, and we’re about to reveal the secrets to making it perfect. A great pie crust is the backbone of many delicious desserts and savory pies, making it a crucial element to master in baking.
To achieve a perfect pie crust, it’s essential to understand the science behind the ingredients and how they interact. Temperature control plays a crucial role throughout the pie-making process. Minimal handling is also vital to prevent tough, chewy crusts.
- Understanding the balance between fat, flour, and liquid creates the perfect crust texture.
- Resting the dough at various stages is necessary for the chemistry to work correctly.
- Properly cutting fat into flour creates desirable flaky layers in your pie.
A crust recipe that seems simple actually requires precision and technique. Many bakers struggle with consistency, but by understanding the importance of ingredients quality and patience, you can avoid common pitfalls.
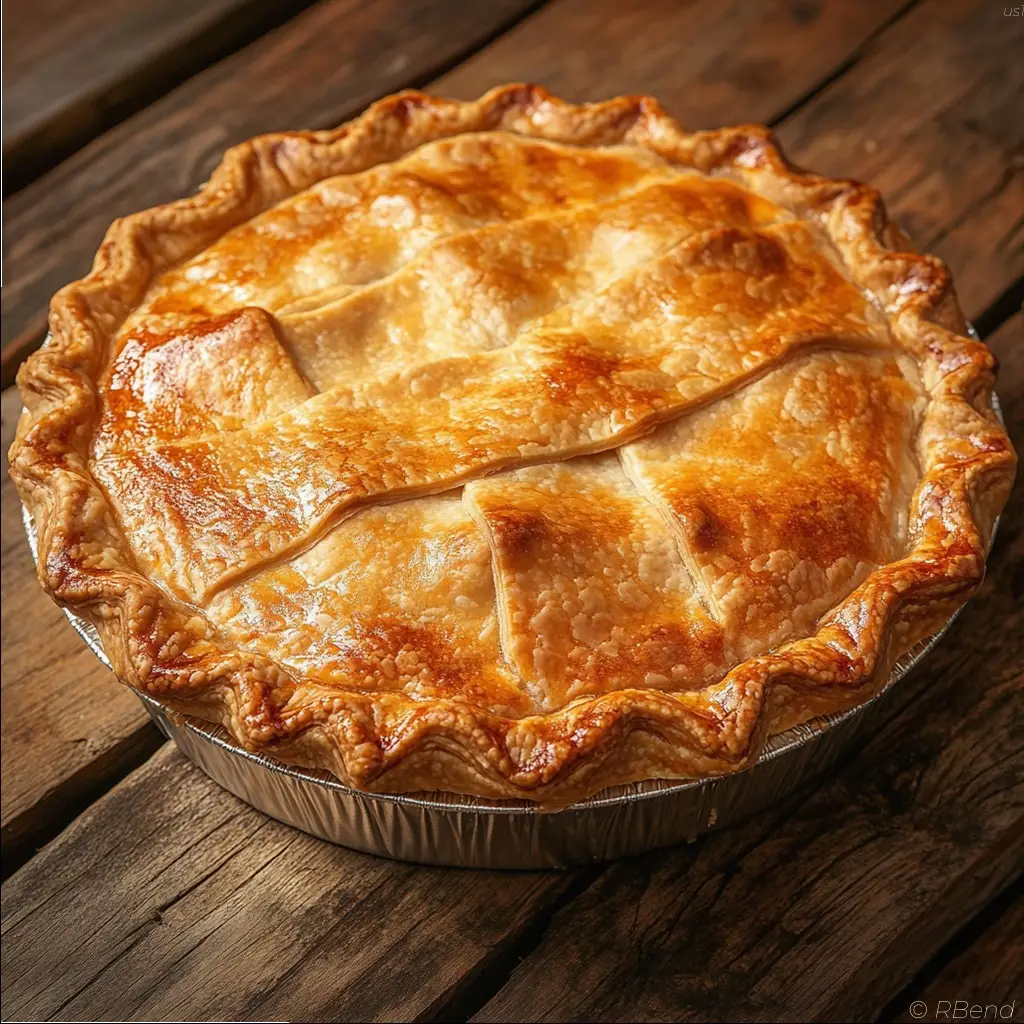
By focusing on these key elements, you’ll be well on your way to making a perfect homemade pie crust that will elevate your baking to the next level.
Essential Ingredients for Flaky Pie Crust
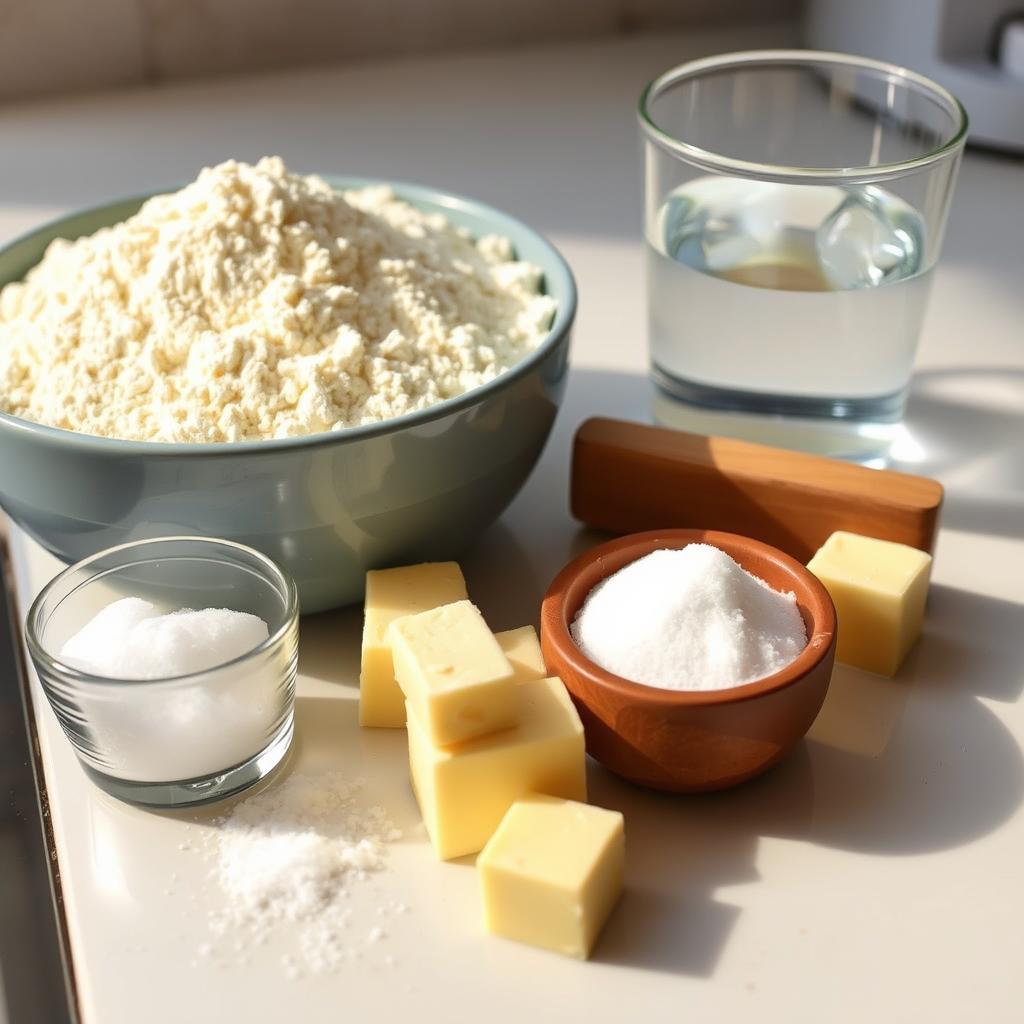
Crafting the perfect pie crust begins with understanding the essential ingredients that contribute to its flaky texture. The ingredient list for pie crust is short and simple, yet each component plays a crucial role in achieving the desired outcome.
All-Purpose Flour
Start with quality flour. Not all all-purpose flours are equal; some have a higher protein level that can significantly impact the crust’s texture. For instance, King Arthur Unbleached All-Purpose Flour is a popular choice due to its high protein level of 11.7%, which is nearly 2 percentage points higher than ordinary American all-purpose flours. This means baked goods rise higher and stay fresh longer.
Cold Butter
Butter is essential for that unparalleled buttery flavor and flaky layers. Using cold butter ensures that the fat remains solid until it hits the hot oven, creating the flaky texture characteristic of a well-made pie crust.
Vegetable Shortening (Optional)
Vegetable shortening adds structure and stability to the pie crust. It’s optional but can be beneficial when combined with butter to achieve both flavor and texture.
Ice Water
Ice water is the liquid that brings the dough together. Its cold temperature is crucial for maintaining the butter’s solidity, thereby contributing to the crust’s flakiness.
Salt and Sugar
Salt enhances the flavor of the pie crust and is essential even in sweet pies, as it strengthens the gluten structure. Sugar, on the other hand, affects browning and texture in the finished crust. Understanding the proper proportions of these ingredients is key to achieving a balanced flavor.
| Ingredient | Purpose |
|---|---|
| All-Purpose Flour | Provides structure |
| Cold Butter | Creates flaky layers and flavor |
| Vegetable Shortening | Adds stability and structure |
| Ice Water | Brings dough together |
| Salt | Enhances flavor and strengthens gluten |
| Sugar | Affects browning and texture |
Equipment You’ll Need
The right equipment can make all the difference in creating a flaky and delicious pie crust. To get started, you’ll need a few essential tools to help you prepare and bake your pie to perfection.
Food Processor vs. Pastry Cutter
When it comes to cutting the butter into the flour mixture, you have a couple of options. You can use a pastry cutter to do this by hand, or you can use a food processor for a quicker result. While you can also use two forks, this method can be slow and tedious. A pastry cutter or food processor makes the process much easier and more efficient.
Rolling Pin and Surface
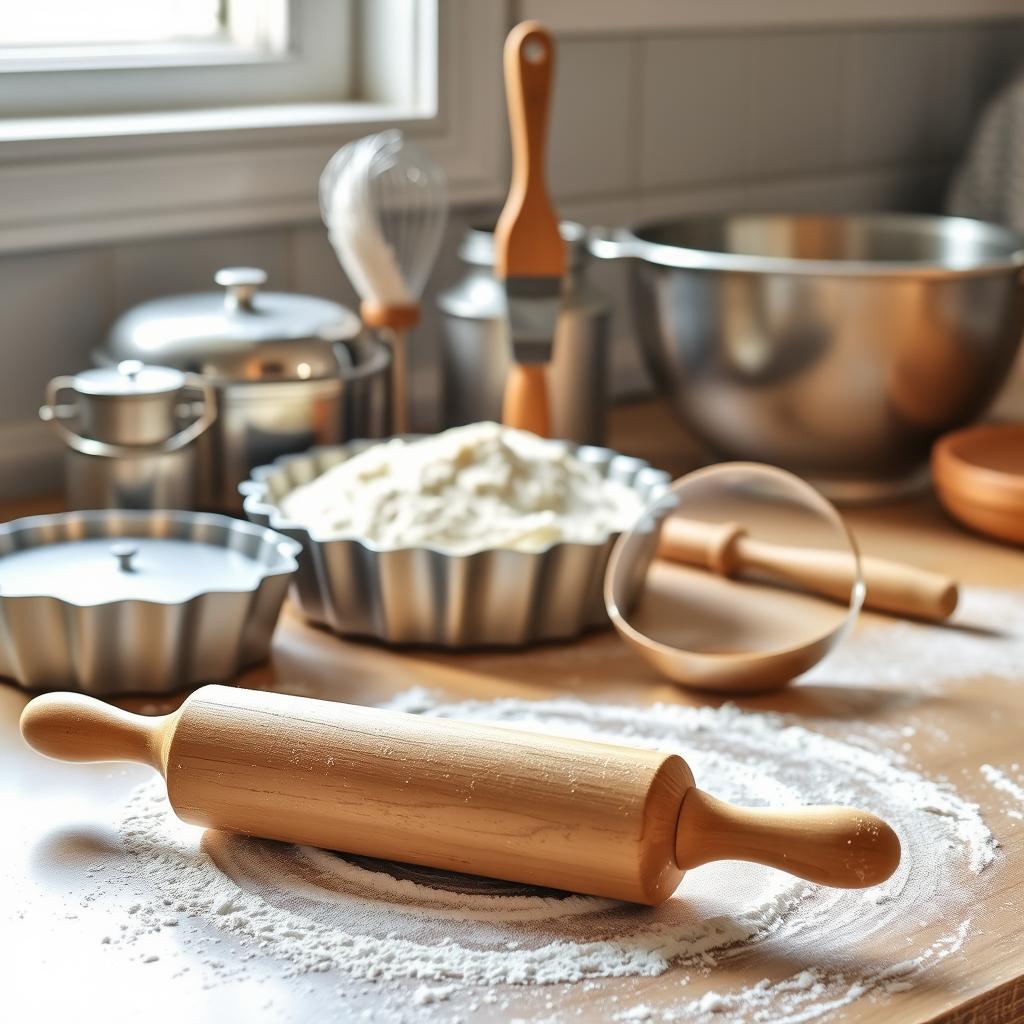
A good rolling pin is essential for rolling out your pie crust to the right thickness. You’ll also need a lightly floured surface to prevent the dough from sticking. This will help you achieve a smooth, even crust.
Pie Dish Options
The type of pie dish you use can affect the baking results. You’ll learn about the different materials used for pie dishes, such as glass, ceramic, and metal, and how they impact your finished pie. The size and depth of the dish also play a crucial role in the final result.
The Best Pie Crust Recipe Step-by-Step
Creating a flaky and delicious pie crust is easier than you think with the right steps. To achieve perfection, it’s essential to follow a tried-and-true process that involves mixing, chilling, and rolling out your dough to the right consistency and size.
Mixing the Dry Ingredients
Start by combining your dry ingredients, including flour and salt, in a large bowl. It’s a good idea to chill this mixture in the refrigerator or freezer to keep it cold while you prepare the rest of your ingredients.
Cutting in the Fat
Next, take your cold butter and shortening out of the refrigerator. Cube the butter and measure out the shortening. You can give the shortening a quick chop to make it easier to mix into your dry ingredients. Use a pastry cutter or two forks to cut the fats into the dry ingredients until the mixture resembles coarse crumbs.
Adding Ice Water
Gradually add ice water to the mixture, stirring with a fork until the dough starts to come together. Be cautious not to add too much water, as this can make your dough too sticky.
Forming and Chilling the Dough
Form your dough into a flat disc and wrap it in plastic wrap. Chill the dough in the refrigerator for at least 30 minutes to allow the gluten to relax, making it easier to roll out.
Rolling Out the Dough
On a lightly floured surface, use a rolling pin to roll out your chilled dough to an even thickness. Aim for a diameter that’s slightly larger than your pie dish. Techniques for maintaining an even thickness include rotating your dough as you roll and applying gentle, consistent pressure.
| Tips for Rolling Dough | Benefits |
|---|---|
| Rotate dough while rolling | Ensures even thickness |
| Use a lightly floured surface | Prevents sticking without adding too much flour |
| Keep the dough cold | Maintains flaky layers |
By following these steps and tips, you’ll be able to achieve a beautifully rolled pie crust that’s ready to be placed in your pie dish.
Creating Beautiful Pie Edges
The edge of your pie crust is more than just a border; it’s a finishing touch that elevates your entire dessert. A well-crafted edge can make your homemade pie stand out and add a professional touch to your baking.
To create beautiful pie edges, you can use various techniques. Let’s explore some of the most popular methods.
Basic Crimping Technique
The basic crimping technique is a simple way to finish your pie crust. To crimp, place your thumb and index finger on the edge of the crust and pinch it gently. Repeat this process around the edge of the pie to create a uniform border.
Fluted Edges
For a more decorative look, you can create fluted edges. To form a fluted pie rim, hold your thumb and index finger an inch apart on the outside edge of the crust and press between them with the index finger of the other hand. Move around the edges of the pan, repeating the motion to create a fluted rim.
Decorative Cut-Outs
Using extra dough, you can create decorative cut-outs to adorn your pie. Cut out shapes with a cookie cutter or a knife, and arrange them on top of the pie. Brush the cut-outs with a little egg wash to help them stick and bake evenly.
| Technique | Description | Difficulty Level |
|---|---|---|
| Basic Crimping | Simple pinching technique | Easy |
| Fluted Edges | Creating a fluted rim | Moderate |
| Decorative Cut-Outs | Using extra dough for designs | Challenging |
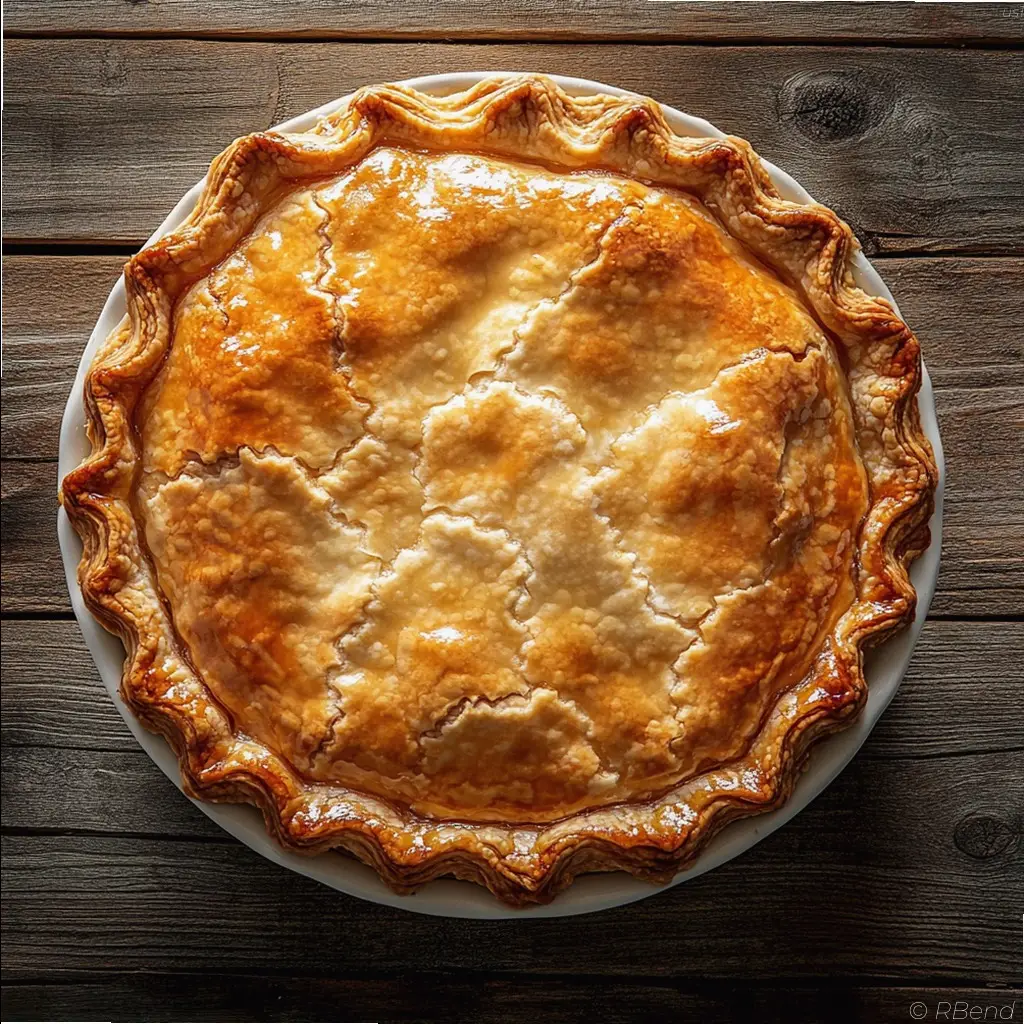
By mastering these techniques, you can create beautiful and unique pie edges that will impress your friends and family. Experiment with different methods to find the one that works best for you and your baking style.
Butter vs. Shortening: Which Makes the Better Pie Crust?
To create a superior pie crust, understanding the roles of butter and shortening is essential. Both ingredients contribute unique qualities to your pie crust recipe.
All-Butter Crust Benefits
Using all butter in your pie crust can result in a rich, flavorful crust with a beautiful golden color. Butter adds a delicious taste and can create flaky layers when done correctly. However, an all-butter crust can be more prone to losing its shape during baking.
Butter-Shortening Combination Benefits
Combining butter with shortening offers the best of both worlds. The butter provides flavor, while the shortening helps maintain the crust’s pliability and shape. This combination results in a tender, flaky, and flavorful pie crust that’s less likely to shrink during baking.
Making Your Choice
When deciding between an all-butter crust and a butter-shortening combination, consider your pie’s filling and the desired texture. For fruit pies, a combination crust works well, while for savory pies, an all-butter crust might be preferable. Ultimately, the choice depends on your personal preference and the specific requirements of your pie recipe.
| Crust Type | Benefits | Best For |
|---|---|---|
| All-Butter | Rich flavor, golden color | Savory pies, flavor-focused desserts |
| Butter-Shortening | Tender, flaky, maintains shape | Fruit pies, delicate fillings |
How to Blind Bake a Pie Crust

Blind baking, or pre-baking, a pie crust is necessary for fillings that don’t require baking or need a pre-cooked crust. This technique ensures that your pie crust is perfectly cooked, whether you’re making a Pumpkin Pie, Quiche Lorraine, or another delicious dessert.
When to Blind Bake
Some recipes, like custard pies or those with wet fillings, require a pre-baked crust to prevent the crust from becoming soggy. Blind baking is also essential for pies that won’t be baked further or need a crust that’s cooked before adding the filling.
Pie Weights and Alternatives
To prevent the pie crust from bubbling or shrinking during blind baking, you’ll need pie weights or alternatives like dried beans or rice. These weights help maintain the crust’s shape and ensure even baking.
Step-by-Step Blind Baking Process
To blind bake a pie crust, start by forming the edge of your crust, either by crimping it with a fork or creating a fluted rim. Place the crust in the freezer for 30 minutes to firm it up. Line the crust with parchment paper or foil, filling it about 2/3 full with pie weights. Preheat your oven to 425˚F and bake for 17 minutes, or until the edges are golden. Remove the weights and parchment paper, and continue baking if necessary.
After blind baking, allow the crust to cool completely before filling. This step is crucial for preventing the filling from making the crust soggy. With these steps, you’ll achieve a perfectly baked pie crust for your favorite recipes.
Troubleshooting Common Pie Crust Problems
Troubleshooting common pie crust issues is an essential skill for any baker looking to perfect their craft. Whether you’re a novice or an experienced baker, understanding how to address these problems can make all the difference in your baking endeavors.
Tough or Dense Crust
A tough or dense crust often results from not having enough fat in the crust or overworking the dough. To avoid this, ensure you’re using a recipe with plenty of fat and handle the dough as little as possible.
Crumbly Dough
Crumbly dough can be a sign of insufficient moisture or overworking the dough. Make sure to add the right amount of ice water, and mix the ingredients just until they come together.
Shrinking Crust
If your pie crust shrinks down the sides of the dish during baking, it might be due to par-baking. To prevent this, chill your crust thoroughly before baking, and consider using pie weights.
Soggy Bottom
A soggy bottom can occur when the crust isn’t baked long enough or at a high enough temperature. Try blind baking your crust or adjusting your oven temperature to achieve a crisper bottom.
Burnt Edges
Burnt edges can be a problem, especially if your pie edges brown faster than the rest of the crust. To combat this, you can use foil shields to protect the edges. Here’s a simple guide on how to create and use them:
- Learn why pie edges often brown faster than the rest of the crust.
- Discover how to create and use foil shields to protect delicate edges.
- Understand how to time your shield placement for optimal results.
Let’s take a look at a comparison of different methods to prevent burnt edges:
| Method | Description | Effectiveness |
|---|---|---|
| Foil Shields | Using foil to cover the edges | High |
| Oven Temperature Adjustment | Lowering the oven temperature | Medium |
| Shield Placement Timing | Adjusting when you place the shield | High |
By understanding and addressing these common pie crust problems, you’ll be well on your way to baking perfect pies every time. Remember, practice makes perfect, so don’t be discouraged by initial setbacks.
Make-Ahead and Storage Tips
The flexibility of homemade pie crust lies in its ability to be made ahead and stored effectively. This allows you to plan your baking schedule around your needs, whether you’re preparing for a special occasion or simply want to have a homemade crust ready for a spontaneous dessert.
Refrigerating Pie Dough
You can refrigerate pie dough for up to 3 days ahead of time. It’s essential to allow the dough to soften slightly at room temperature before rolling it out. This makes the dough easier to work with and helps prevent cracking.
Freezing Pie Dough
For longer storage, you can freeze pie dough. Wrap it tightly and seal it airtight to prevent freezer burn, then freeze for up to 3 months. When you’re ready to use it, thaw the dough completely in the refrigerator before rolling it out.
Storing Baked Pie Crusts
Baked pie crusts can be stored in an airtight container at room temperature for up to 2 days or frozen for up to a month. To refresh a stored crust, simply place it in a preheated oven at 350°F (175°C) for a few minutes. This will help restore its crispiness.
The Temperature Secret: Why Cold Ingredients Matter
The key to a perfect pie crust lies in the temperature of your ingredients. Keeping your pie dough as cold as possible is crucial for achieving a flaky and tender crust. The refrigerator is just as important as the oven when making a homemade pie.
The Science of Flaky Layers
When you keep your ingredients cold, you prevent the fats from melting before the crust hits the hot oven. If the cold butter melts inside the dough before baking, you lose the flakiness. As the lumps of fat melt in the oven, their steam helps to separate the crust into multiple flaky layers. This process results in a tender and flaky crust, rather than a hard, crunchy, and greasy one.
Tips for Maintaining Cold Ingredients
To maintain the cold temperature of your ingredients, it’s essential to use ice water and keep your ice nearby. You can also chill your bowls and utensils in the refrigerator before starting to work on your pie dough. Here are some practical strategies for keeping everything cold:
- Chill your workspace by placing ice packs or frozen gel packs around your work area.
- Pause and chill your dough if you notice it becoming too warm or soft.
- Cool your hands before handling the dough by rinsing them with cold water or placing them in the refrigerator for a few minutes.
- Use a combination of cold butter and shortening to achieve the best results.
| Tips | Benefits |
|---|---|
| Chill bowls and utensils | Keeps ingredients cold for longer |
| Use ice water | Prevents fat from melting |
| Pause and chill dough | Prevents dough from becoming too warm |
Pie Crust Variations to Try
From whole wheat to sweet pie crusts, there are numerous ways to modify your pie crust recipe to suit different tastes and dietary needs. You can experiment with various ingredients to create unique flavor profiles and textures.
Whole Wheat Pie Crust
Substituting whole wheat flour for all-purpose flour adds a nuttier flavor and denser texture to your pie crust. Use 1 cup of whole wheat flour for every 1 1/2 cups of all-purpose flour called for in the recipe.
Gluten-Free Pie Crust
For a gluten-free pie crust, combine 1 cup of gluten-free flour blend with 1/2 cup of cold butter. Be sure to adjust the liquid content accordingly, as gluten-free flours absorb moisture differently.
Sweet Pie Crust
Adding 1-2 tablespoons of sugar to your pie crust recipe can enhance the flavor for sweet pies. This is particularly effective for desserts like fruit pies or cream-filled pastries.
Herb and Cheese Crust for Savory Pies
Incorporating herbs and cheese into your pie crust can elevate savory pies. Mix in 1/4 cup of grated cheese and 1 tablespoon of chopped fresh herbs into the dough. Popular herb combinations include rosemary and thyme or parsley and chives.
| Pie Crust Variation | Key Ingredients | Best For |
|---|---|---|
| Whole Wheat | Whole wheat flour, cold butter | Savory pies, nutty flavor desserts |
| Gluten-Free | Gluten-free flour blend, cold butter | Gluten-free desserts, savory pies |
| Sweet | Sugar, all-purpose flour | Fruit pies, cream-filled pastries |
| Herb and Cheese | Grated cheese, chopped herbs | Savory pies, quiches |
Using cold butter is crucial in all these variations, as it helps create a flaky texture. Experimenting with different combinations will help you find the perfect pie crust for your needs.
Delicious Pies to Make with Your Homemade Crust
The versatility of your homemade pie crust allows you to experiment with a variety of fillings, from classic fruits to rich custards and savory ingredients. With this foundation, you can create a wide range of pies that cater to different tastes and occasions.
Classic Fruit Pies
Classic fruit pie recipes are a staple of American baking. You can fill your homemade crust with a mix of fresh or frozen fruits, such as apples, berries, or peaches, and top it with another crust or a crumb topping. To make pie even more delicious, consider adding spices or a splash of vanilla extract to enhance the flavor.
Cream and Custard Pies
Cream and custard pies offer a rich and creamy alternative to fruit fillings. Recipes like banana cream, chocolate cream, or coconut custard are sure to satisfy any sweet tooth. The key is to bake the crust appropriately and fill it with a smooth, well-cooked custard.
Savory Pie Options
Savory pie recipes are perfect for meals or snacks. You can fill your crust with ingredients like chicken, vegetables, or cheese to create a hearty and satisfying dish. Savory pies, such as quiches or pot pies, are great for using leftovers and can be adapted to suit various dietary preferences. Experimenting with different savory recipes will help you discover new favorite dishes.
Conclusion
You’ve learned the secrets to making flaky, tender pie crusts from scratch. With this comprehensive guide, you’re now equipped to create delicious homemade pies that will impress family and friends. The key to success lies in using the right ingredients, such as cold butter and ice water, and mastering techniques like blind baking and crimping.
As you continue to practice making pie dough, you’ll develop your own preferences for using pastry and experimenting with different fillings. With time, you’ll refine your skills and create your own signature pie crust recipe. Remember, even imperfect homemade pies are usually delicious, so don’t be discouraged by initial mistakes.
Now it’s your turn to put your new skills to the test and enjoy the rewards of baking homemade pies from scratch.
FAQ
What’s the best way to keep my pie dough from becoming too warm and sticky while I’m working with it?
Can I use a food processor to mix my pie crust ingredients?
How do I achieve a flaky texture in my homemade pie crust?
What’s the difference between using unsalted butter and salted butter in my pie crust?
Can I make my pie crust ahead of time and store it in the freezer?
How do I prevent my pie crust from shrinking during baking?
What’s the best way to blind bake a pie crust?
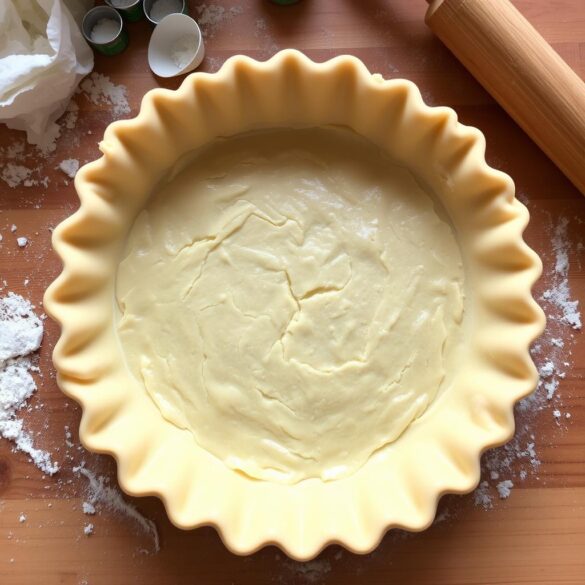
Ingredients
- 1 ½ cups all-purpose flour
- 1 tablespoon granulated sugar
- ¼ teaspoon kosher salt
- ½ cup cold unsalted butter, cut into ½ inch cubes
- ¼ cup ice cold water, plus more if needed
Instructions
Instructions
1- In a large bowl, whisk together flour, sugar, and salt until combined.
2- Add the cold butter cubes and toss to coat each piece with flour. Using your hands, work the butter into the flour mixture by pinching the pieces between your fingers until most are the size of walnuts, but some small chunks remain.
3- Slowly add the ice cold water, stirring and squeezing with your hands to bring the dough together. Add more water, one tablespoon at a time if needed, until the dough holds together but is not sticky.
4- Form the dough into a disc shape, wrap tightly in plastic wrap, and refrigerate for at least 2 hours or up to 3 days before using.
Nutrition Information
Calories: 250
Fat: 18g
Carbohydrates: 21g
Protein: 2g
Sodium: 120mg
Quick Facts
Preparation Time: 5 minutes
Chilling Time: 2 hours or more
Total Time: 2 hours 15 minutes
Servings: 1 pie crust
Difficulty: ⭐⭐ (Easy)

